In the first week of our van build, we installed our kilmat (sound deadening mat) and our Maxx Air Fan for climate control. In this blog post we’ll outline the supplies we used and the steps to complete the project.
For detailed, step-by-step visual instructions, make sure to check out episode 1 of our van build series!
Before you get started, check out our supplies list here to make sure you have all the items you need to make this project successful.
Looking for Visual Step-by-Step instructions? Watch the Video from our Van Build Series!
Kilmat Install
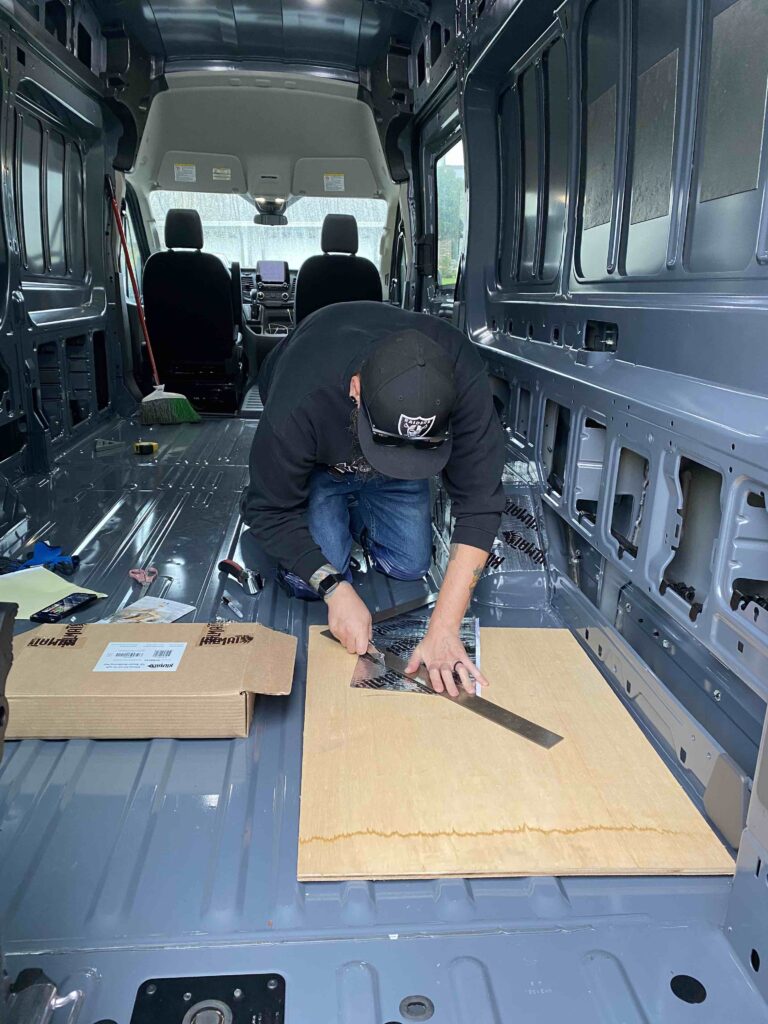
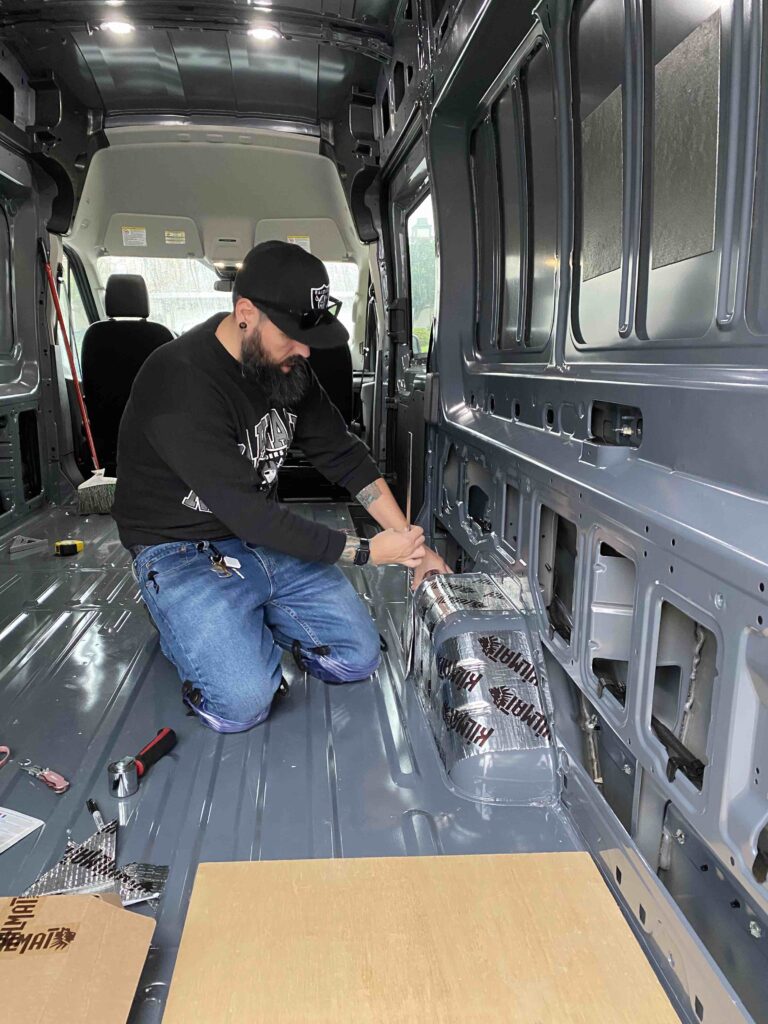
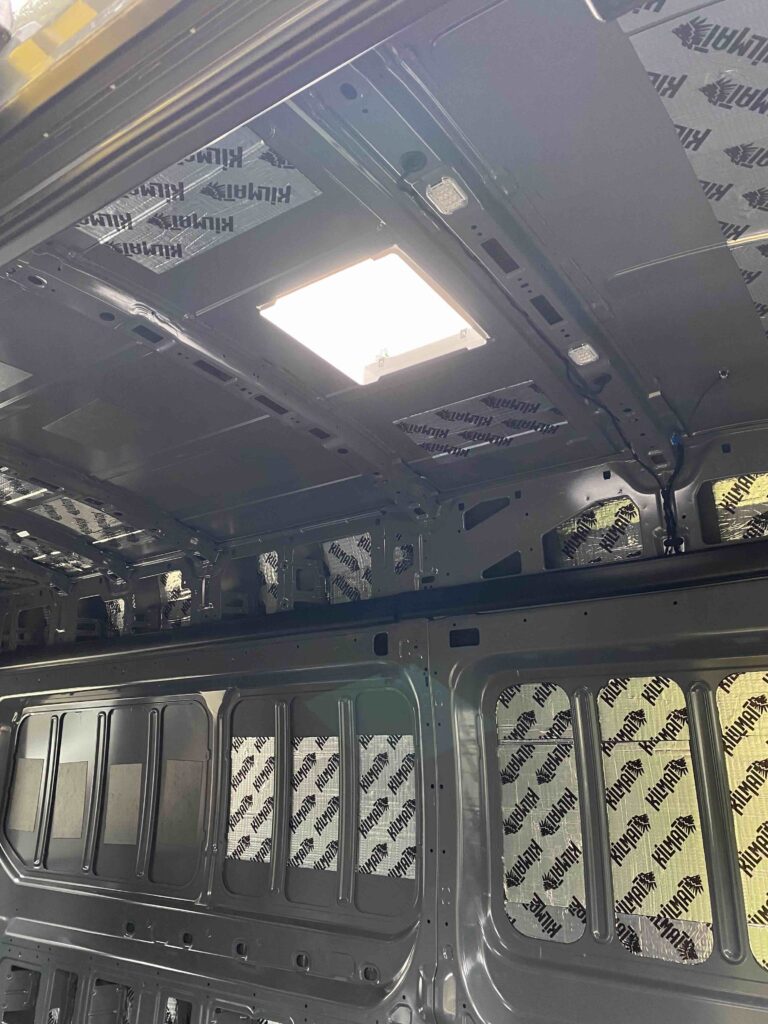
Like many van builders, the very first step in our van build was to lay down Kilmat. Kilmat is used for sound deadening – if you’ve ever driven a large, empty cargo van down the highway, you know that the rattling of all that sheet metal can be pretty loud. Kilmat helps reduce that road noise.
Supplies Needed
Installation Steps
-
- Pick up a sheet of Kilmat and peel off paper backing.
- Starting at the bottom of the sheet, carefully and slowly apply Kilmat to the area of van sheet metal that you wish to apply. (Tip: Be mindful and try to prevent air bubbles from forming under the Kilmat. In some instances I removed air bubbles by cutting a tiny slit in the Kilmat with a box knife and pressing the air out.)
- Use a seam roller to press down the entire sheet of Kilmat. This will ensure good adhesion.
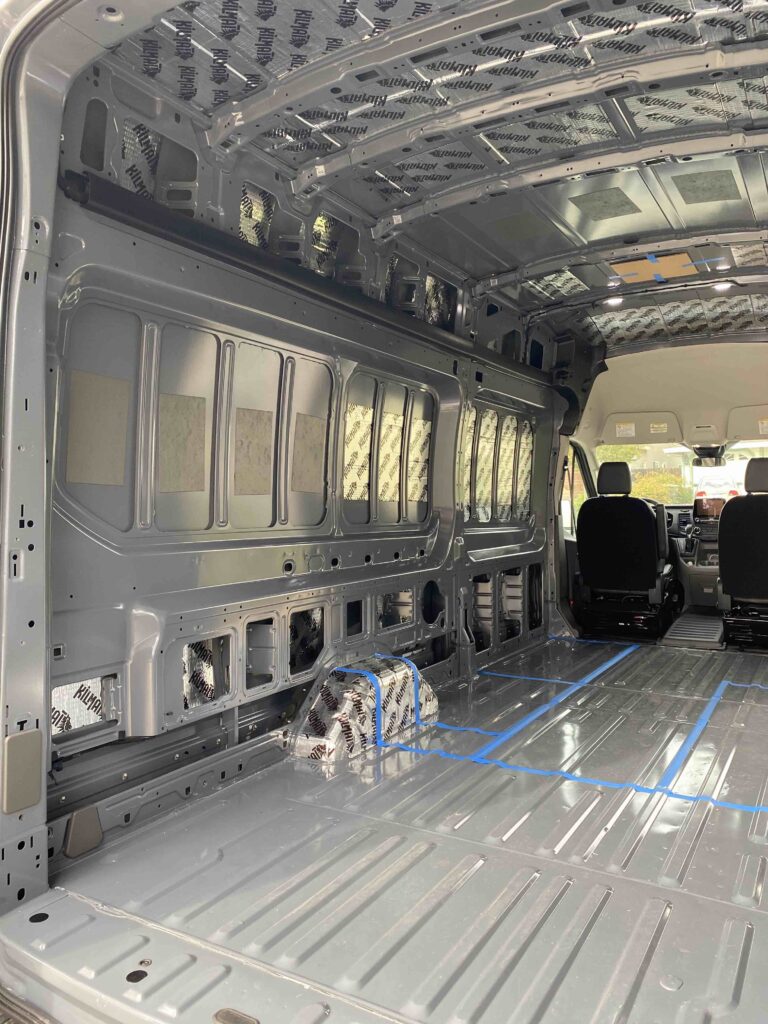
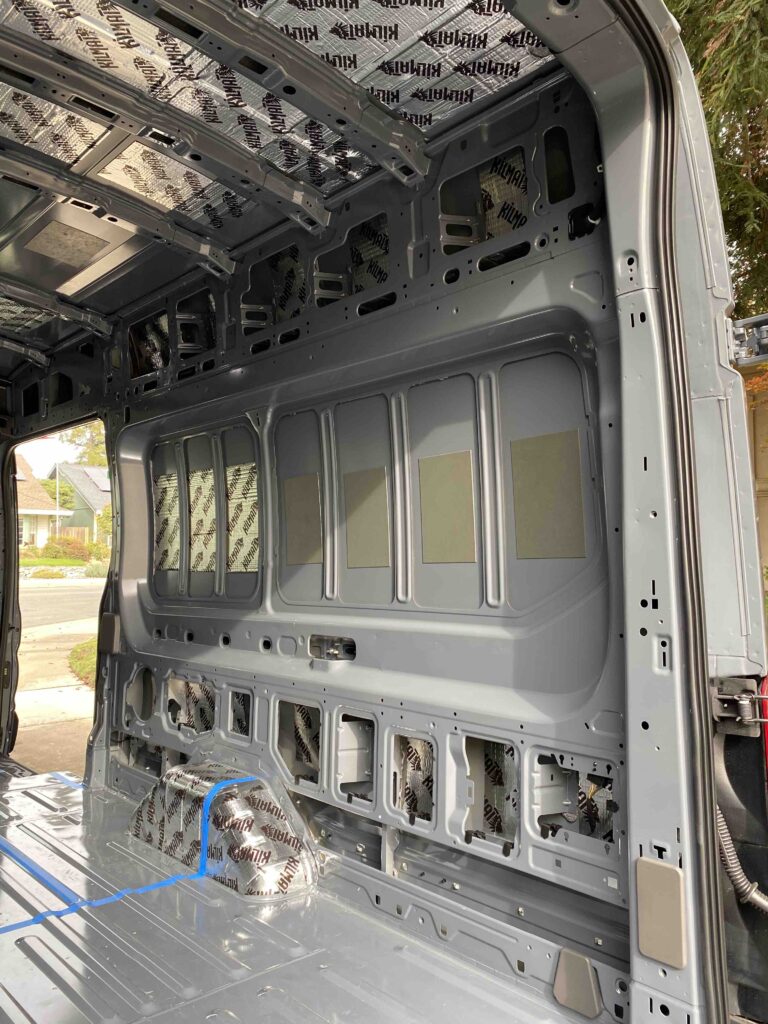
Final Results
Maxx Air Fan Install
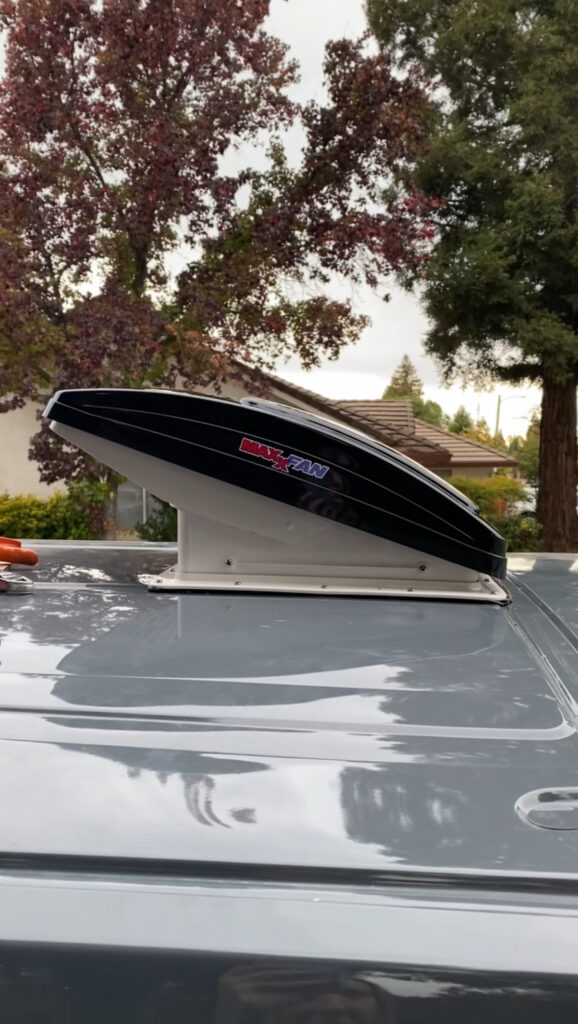
Also like many van builders, we purchased a Maxx Air Fan to install in the front section of our van. The Maxx Air Fan is a great choice because it pulls air in or out, has a cover (so you can even use it in the rain), and a screen to keep bugs out.
The Deluxe version of the fan also has a remote, so that you can turn it on/off from anywhere within the van. The Maxx Air Fan has definitely been the most valuable climate control tool that we have in our van.
Supplies Needed
- maxx fan
- cardboard (for the template – we used the box our maxx fan came in)
- boxknife and steel square (to measure template & cut it out)
- jigsaw
- drill
- clean metal primer
- painter’s/masking tape
Install Steps
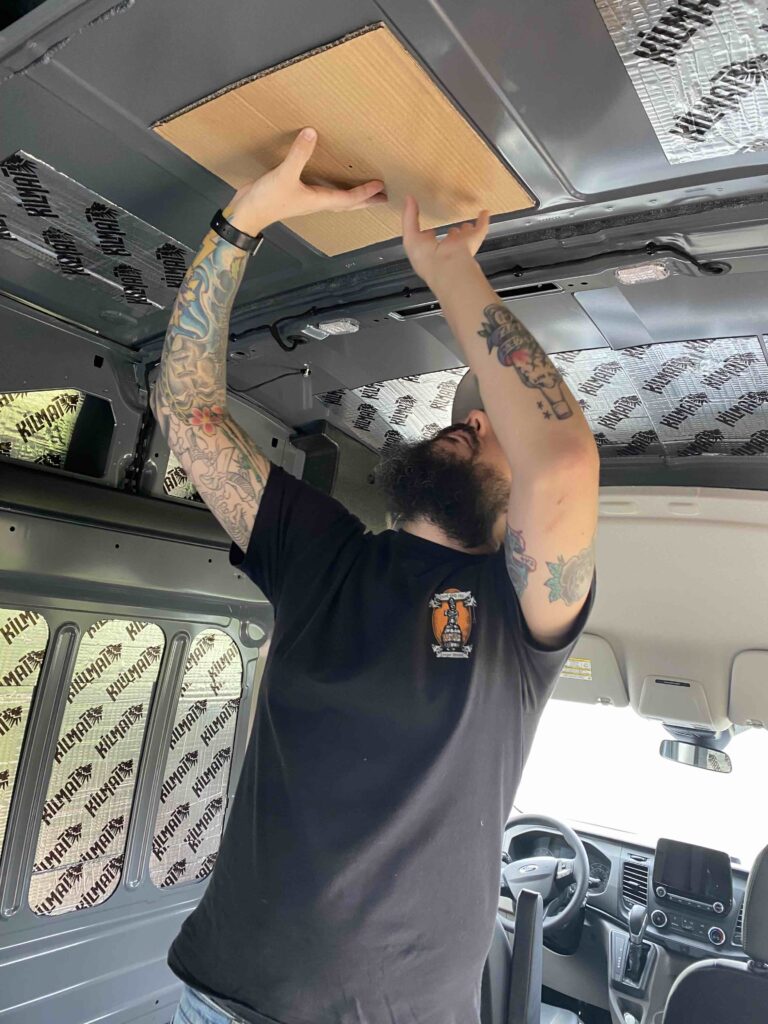
Step 1: Using cardboard, create a template for your cutout. Our fan required a 14”x14” hole. Take the time to make sure your template is the right size and truly square. Once you’re done, use a pen to mark the center of the template.
Step 2: Use painters tape to stick your template to the interior ceiling of the van, so that you have a visual marker of where you would like to mount the fan.
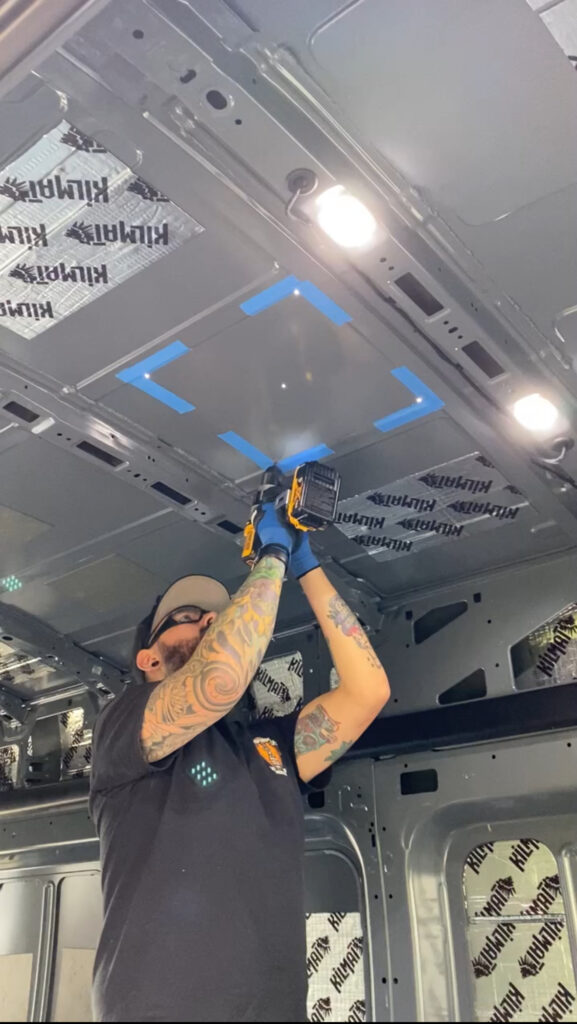
In addition to this, I also taped an outline around the four corners of the template, so that I could still see where the corners of the template would line up even after removing the template.
Step 3: Drill a hole directly through the center of your template and through the roof of the van.
Step 4: Remove the template and drill holes through each of the four corners of the template. Be careful not to go outside the lines. These holes need to be wide enough to fit your jigsaw blade.
Step 5: Take your template to the roof and, using the holes you drilled, line it up perfectly and tape it into place.
Step 6: Trace your template. You can use a sharpie but I found it easier and more precise to just use painters tape to trace the outline of my template.
Step 7: Tape 4-6” all the way around your outline. The guard on your jigsaw is designed to glide along the surface while you are cutting. Because of this you’ll want to create a barrier of tape around where you’ll make the cut to prevent scratching the paint on your camper. It is also a good idea to cover the guard with tape as well to prevent snagging and ripping your barrier.
Step 8: Use your jigsaw to cut out the hole for your fan.
Step 9: Clean up the edges of your cut using a file and/or deburring tool.
Step 10: Use clean metal primer on the exposed metal to help prevent future rust.
Step 11: Place butyl tape around the hole you’ve just cut out. This is essential to create a water tight seal.
Step 12: Place your fan housing in the hole and drill pilot holes through the pre fab holes in the corners. Once the pilot holes are drilled, loosely put mounting screws through each corner (but do not tighten them completely yet).
Step 13: Drill pilot holes for the remaining pre fab holes and install the remaining mounting screws. Now, tighten all the mounting screws, but be careful not to over tighten.
Step 14: Using a caulking gun, place a thick bead of self-leveling lap sealant all the way around the fan housing and on top of each screw head.
Step 15: From inside the van, put a small amount of lap sealant around the base of each mounting screw where the screws protrude through the roof.
Step 16: Lower the fan into place and fasten using the bolts provided.
And there you have it!
Installing our maxx fan for van life was one of the first things we did during our van build, and it makes such a huge difference in van life. I couldn’t imagine living in a van without our maxx fan and bunk windows, and so I would advise you not to skimp on picking out a high quality fan. It will make all the difference on those warm summer days and nights.